Top 8 Best Yoga Poses for Flexibility. It’s something we often take for granted until we realize we’ve lost it. Whether you’re struggling to touch your toes, experiencing stiffness in your back, or simply feeling less limber overall, lack of flexibility can impact your daily life, athletic performance, and even your overall well-being. Fortunately, yoga offers a powerful and accessible way to improve your flexibility, increase your range of motion, and cultivate a deeper connection with your body.
Yoga postures, or asanas, work by gently stretching and lengthening muscles, tendons, and ligaments, improving circulation and promoting relaxation. Regular practice can not only enhance your physical flexibility but also reduce stress, improve posture, and increase body awareness.
Ready to embark on a flexibility-boosting journey? Here are eight of the best yoga poses to incorporate into your routine, along with detailed instructions and modifications to suit various levels of experience:
Top 8 Best Yoga Poses

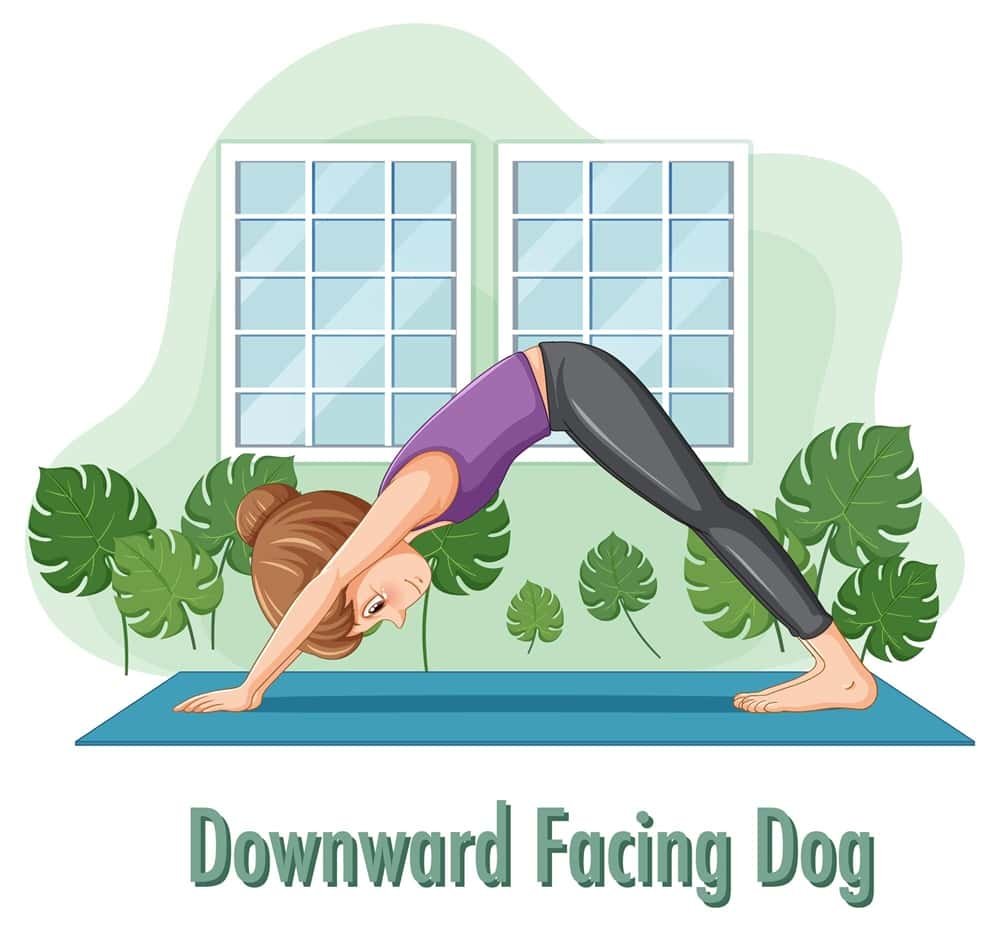
1. Downward-Facing Dog (Adho Mukha Svanasana): The Foundation for Flexibility
Downward-Facing Dog is arguably the cornerstone of many yoga practices. It’s a fantastic full-body stretch that targets your hamstrings, calves, shoulders, and spine, while also strengthening your arms and legs.
How to Perform:
- Start on your hands and knees, with your hands shoulder-width apart and your knees hip-width apart.
- Spread your fingers wide and press firmly into your palms.
- Tuck your toes and lift your hips up and back, forming an inverted V-shape with your body.
- Engage your core and try to straighten your legs, pressing your heels towards the floor (they don’t need to touch).
- Relax your head and neck, looking towards your feet or knees.
- Hold for 5-10 breaths, focusing on lengthening your spine and deepening the stretch in your hamstrings.
Modifications:
- Tight Hamstrings: Bend your knees slightly to take pressure off your hamstrings. You can also place your hands on blocks to elevate your upper body and create more space.
- Wrist Pain: Come onto your forearms in Dolphin Pose (similar to Downward Dog but with forearms on the floor). This reduces the angle in your wrists.
Benefits: Stretches hamstrings, calves, shoulders, and spine; strengthens arms and legs; improves circulation; calms the mind.
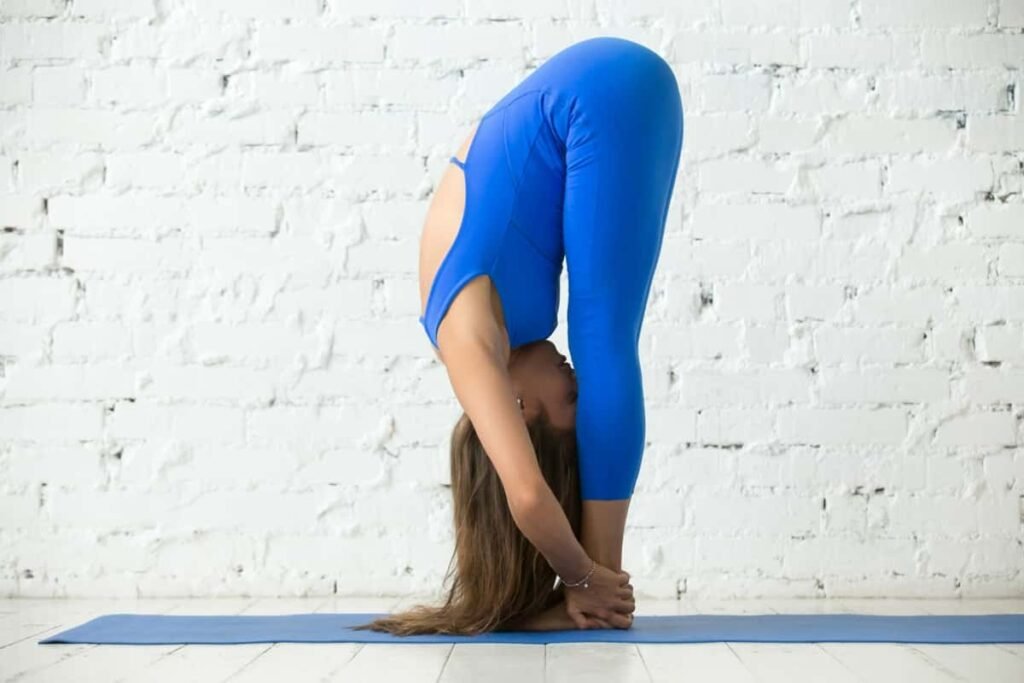
2. Standing Forward Bend (Uttanasana): Unlocking the Hamstrings
Uttanasana is a potent hamstring stretch that also releases tension in your lower back and calms the nervous system.
How to Perform:
- Stand with your feet hip-width apart or slightly wider.
- Inhale and raise your arms overhead.
- Exhale and bend forward from your hips, keeping your back as straight as possible.
- Allow your head to hang heavy towards the floor.
- You can place your hands on the floor, on your shins, or hold onto your ankles.
- Hold for 5-10 breaths, focusing on lengthening your spine and relaxing your neck.
Modifications:
- Tight Hamstrings: Bend your knees deeply to reduce the strain on your hamstrings. You can also use a yoga strap around your feet to assist in reaching further.
- Back Pain: Keep your knees bent and focus on maintaining a long spine. Avoid forcing yourself into a deeper bend.
Benefits: Stretches hamstrings, calves, and hips; strengthens thighs and knees; calms the brain; relieves stress and mild depression.
3. Triangle Pose (Trikonasana): Opening the Hips and Sides
Triangle Pose is a standing pose that stretches your hips, hamstrings, and spine while also strengthening your legs and ankles. It improves flexibility in the lateral (side) body.

How to Perform:
- Stand with your feet wide apart, about 3-4 feet.
- Turn your right foot out 90 degrees and your left foot in slightly, about 15 degrees.
- Inhale and reach your arms out to the sides, parallel to the floor.
- Exhale and reach forward with your right hand over your right leg, then hinge at your hips and lower your right hand towards your shin, ankle, or the floor (depending on your flexibility).
- Extend your left arm straight up towards the ceiling, keeping your gaze towards your left hand (or down towards your right foot if your neck feels strained).
- Maintain a straight line from your left fingertips to your right toes.
- Hold for 5-10 breaths, then repeat on the other side.
Modifications:
- Limited Flexibility: Use a block under your right hand to bring the floor closer to you.
- Neck Pain: Look down at your right foot instead of up at your left hand.
Benefits: Stretches and strengthens thighs, knees, and ankles; stretches hips, hamstrings, calves, spine, shoulders, chest, and side body; stimulates abdominal organs.
4. Seated Forward Bend (Paschimottanasana): A Calming Stretch for the Back and Legs
This pose is a seated variation of the Standing Forward Bend, offering a more grounding and restorative experience. It’s excellent for lengthening the spine and stretching the hamstrings.

How to Perform:
- Sit on the floor with your legs extended straight in front of you.
- Flex your feet, keeping your toes pointing towards the ceiling.
- Inhale and reach your arms overhead, lengthening your spine.
- Exhale and bend forward from your hips, reaching for your toes, ankles, or shins.
- Keep your back as straight as possible, avoiding rounding.
- If you can’t reach your toes, use a yoga strap around your feet.
- Hold for 5-10 breaths, focusing on lengthening your spine and relaxing your head and neck.
Modifications:
- Tight Hamstrings: Bend your knees slightly and use a yoga strap around your feet. You can also sit on a folded blanket to elevate your hips.
- Back Pain: Keep your knees bent and focus on maintaining a long spine.
Benefits: Stretches hamstrings, spine, and shoulders; calms the brain; relieves stress and mild depression; stimulates abdominal organs.
5. Pigeon Pose (Eka Pada Rajakapotasana): Opening the Hips and Groin
Pigeon Pose is a deeply opening hip stretch that targets the hip flexors and glutes. It’s particularly beneficial for releasing tension and improving flexibility in these areas. Be cautious with this pose, especially if you have knee issues.

How to Perform:
- Start on your hands and knees.
- Bring your right knee forward towards your right wrist. Your right ankle should be somewhere in front of your left hip.
- Slide your left leg back, straightening your knee and pointing your toes.
- Keep your hips square to the front of the mat. If your right hip is lifted, place a blanket or block underneath it for support.
- Inhale and lengthen your spine.
- Exhale and fold forward over your right leg, resting your forehead on the floor or your forearms.
- Hold for 5-10 breaths, then repeat on the other side.
Modifications:
- Knee Pain: If you experience pain in your knee, try reclining Pigeon Pose (Supta Kapotasana) by lying on your back and crossing your right ankle over your left knee.
- Tight Hips: Use a blanket or block under your right hip for support.
Benefits: Stretches hip flexors, glutes, and groin; opens the hips; relieves lower back pain; improves posture.
6. Reclining Spinal Twist (Supta Matsyendrasana): Releasing Tension in the Spine
This gentle twist is a wonderful way to increase flexibility in the spine, release tension in the back, and stimulate digestion.

How to Perform:
- Lie on your back with your knees bent and your feet flat on the floor.
- Extend your arms out to the sides, forming a T-shape.
- Inhale and lift your hips slightly off the floor.
- Exhale and drop your knees to the right, keeping your shoulders flat on the floor.
- Turn your head to the left, if comfortable.
- Hold for 5-10 breaths, then repeat on the other side.
Modifications:
- Shoulder Pain: If your shoulder lifts off the floor, support your knees with a pillow or bolster.
- Neck Pain: Keep your head looking straight up or turn it in the same direction as your knees.
Benefits: Stretches the spine, shoulders, and chest; stimulates abdominal organs; relieves stress and tension; improves digestion.
7. Bridge Pose (Setu Bandhasana): Strengthening the Back and Opening the Chest
While primarily a strengthening pose, Bridge Pose also helps improve flexibility in the spine and chest. It’s a great counterpose to forward bends.

How to Perform:
- Lie on your back with your knees bent and your feet flat on the floor, hip-width apart.
- Extend your arms along your sides, palms facing down.
- Inhale and press into your feet, lifting your hips off the floor.
- Engage your glutes and hamstrings.
- Keep your neck long and relaxed.
- Clasp your hands together underneath your body and press your arms firmly into the floor.
- Hold for 5-10 breaths, then slowly lower your hips back down to the floor.
Modifications:
- Neck Pain: Avoid turning your head while in the pose.
- Lower Back Pain: Ensure your core is engaged and avoid overarching your back.
Benefits: Strengthens back, glutes, and hamstrings; opens chest and shoulders; stimulates abdominal organs; calms the brain; improves digestion.
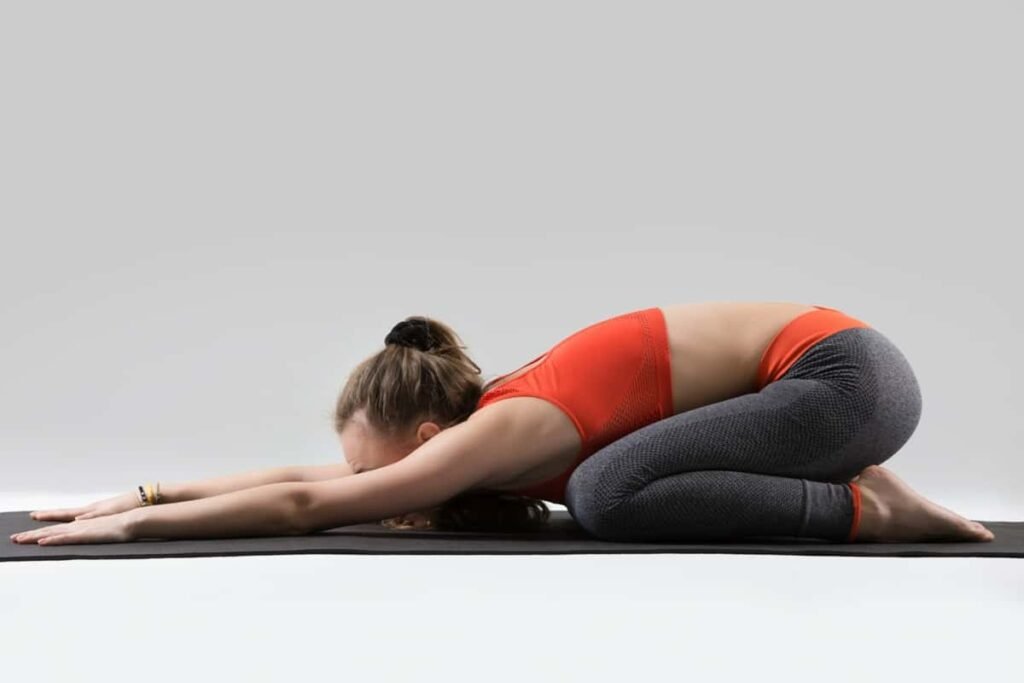
8. Child’s Pose (Balasana): A Restorative Inversion
Child’s Pose is a deeply restorative and calming pose that stretches your hips, thighs, and ankles. It also gently massages your abdominal organs and relieves stress.
How to Perform:
- Start on your hands and knees.
- Bring your big toes together to touch.
- Widen your knees to about hip-width apart.
- Exhale and lower your torso between your thighs.
- Rest your forehead on the floor.
- Extend your arms forward, palms facing down, or rest them along your sides, palms facing up.
- Relax your body and breathe deeply.
- Hold for as long as you like, from 30 seconds to several minutes.
Modifications:
- Tight Hips: Place a rolled-up blanket or pillow between your thighs and calves.
- Forehead Doesn’t Reach the Floor: Place a block or folded blanket under your forehead for support.
Benefits: Gently stretches hips, thighs, and ankles; calms the brain; relieves stress and fatigue; stimulates abdominal organs.
Important Considerations:
- Listen to Your Body: Yoga should never be painful. If you experience any sharp or persistent pain, stop immediately and adjust the pose or seek guidance from a qualified yoga instructor.
- Breathe Deeply: Conscious breathing is an integral part of yoga practice. Inhale and exhale deeply throughout each pose, allowing your breath to guide your movements and deepen your stretches.
- Warm-Up Before Stretching: Prepare your muscles for stretching with a gentle warm-up, such as sun salutations or dynamic movements.
- Be Patient and Consistent: Flexibility takes time and consistent practice. Don’t get discouraged if you don’t see results immediately. Regular practice, even for a few minutes each day, will gradually improve your flexibility and range of motion.
- Consult a Professional: If you have any underlying health conditions or injuries, consult with your doctor or a qualified healthcare professional before starting a yoga practice.
- Find a Qualified Instructor: If you’re new to yoga, consider taking a class from a certified instructor. They can provide personalized guidance and modifications to ensure you’re practicing safely and effectively.
By incorporating these eight yoga poses into your routine and practicing consistently, you can unlock your inner bend, improve your flexibility, and reap the numerous physical and mental benefits of yoga. Remember to be patient, listen to your body, and enjoy the journey! Happy stretching!
This was everything about the Top 8 Best Yoga Poses.