How to make iOS Apps. So, you have an idea for the next killer app, something that will revolutionize how people manage their to-do lists, connect with friends, or even just entertain themselves on the go. You’ve decided iOS, with its sleek interface and dedicated user base, is the platform you want to conquer. But where do you begin? Creating an iOS app might seem daunting at first, but with the right tools, knowledge, and dedication, it’s a very achievable goal. This comprehensive guide will walk you through the essential steps of bringing your iOS app idea to life.
How to make iOS Apps
1. Defining Your App: The Foundation of Success
Before you even open Xcode (Apple’s Integrated Development Environment), you need a crystal-clear understanding of what your app will do. This isn’t just about knowing the core function; it’s about defining the entire user experience. Ask yourself these crucial questions:
- What problem does your app solve? Identify the pain point you’re addressing. Is it a lack of efficient organization tools, a need for easier communication, or simply a desire for engaging entertainment?
- Who is your target audience? Knowing your user demographics (age, tech savviness, interests) will influence your design, functionality, and marketing strategies.
- What are the key features? Outline the core functionalities that your app MUST have. Focus on delivering these features exceptionally well before adding “nice-to-haves.”
- What is the user flow? Map out how a user will navigate through your app, from the initial launch to achieving their desired outcome. Consider different scenarios and potential roadblocks.
- What is your monetization strategy? How will you generate revenue from your app? Consider options like in-app purchases, subscriptions, advertising, or a freemium model.
- What are your competitors doing? Analyze similar apps on the market. Identify their strengths and weaknesses, and find opportunities to differentiate your app.
Creating a Detailed Specification Document:
This document should be a living document, updated as you progress. It should include:
- App Description: A concise overview of your app’s purpose.
- Target Audience: A profile of your ideal user.
- Feature List: A detailed breakdown of each feature, including its functionality and purpose.
- User Interface (UI) Design Mockups: Wireframes or visual representations of your app’s screens. Tools like Figma, Sketch, and Adobe XD are invaluable for this.
- User Flow Diagrams: Visual representations of the user’s journey through the app.
- Technical Requirements: A list of technologies and frameworks you’ll need to implement your app.
- Monetization Plan: A clear strategy for generating revenue.
2. Setting Up Your Development Environment: Getting Ready to Code
Now it’s time to prepare your digital workspace. Here’s what you’ll need:
- A Mac Computer: This is mandatory for iOS development. Xcode, the primary development tool, is only available on macOS.
- Xcode: Download the latest version of Xcode from the Mac App Store. Xcode includes the iOS SDK (Software Development Kit), which provides the necessary libraries and tools for building iOS apps.
- Apple Developer Account: You’ll need an Apple Developer Account to test your app on physical devices and eventually publish it to the App Store. There are two options:
- Apple Developer Program ($99/year): Allows you to distribute your apps on the App Store.
- Apple Developer Program Enterprise (Restricted access): Designed for internal use within large organizations.
- Version Control (Git): Use Git to track changes to your code and collaborate with other developers. Platforms like GitHub, GitLab, and Bitbucket offer free repositories.
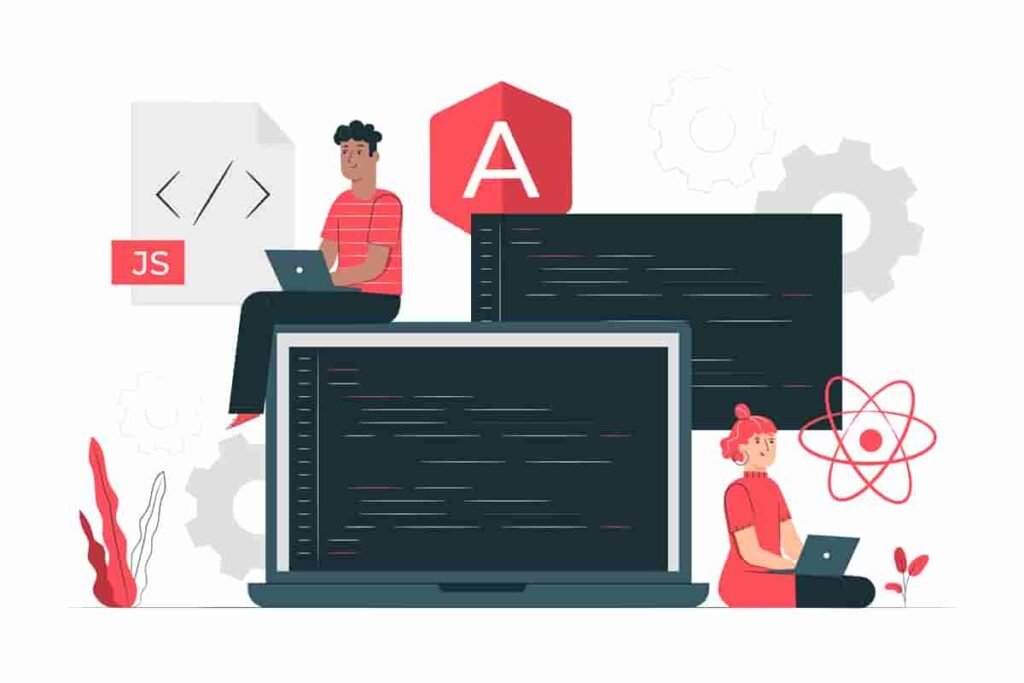
3. Choosing a Development Approach: Swift vs. Objective-C, and UI Frameworks
Apple provides two primary programming languages for iOS development:
- Swift: This is Apple’s modern, powerful, and safer programming language. It’s generally recommended for new iOS projects due to its cleaner syntax, improved performance, and ongoing support. SwiftUI is also Apple’s new declarative UI framework, making building modern UIs much easier.
- Objective-C: This is the older language traditionally used for iOS development. While many legacy apps are still written in Objective-C, it’s less commonly used for new projects.
Choosing a UI Framework:
You have several options for building your app’s user interface:
- SwiftUI: Apple’s modern, declarative UI framework that emphasizes code readability and ease of use. It’s excellent for building clean, modern-looking apps and is the future of iOS UI development. It uses a reactive approach where the UI automatically updates when the data changes.
- UIKit: The traditional UI framework for iOS. It’s more mature and offers greater control over the UI, but it can be more complex to work with than SwiftUI. You may choose UIKit if you have very specific UI requirements or need to support older iOS versions (although SwiftUI is becoming increasingly compatible with older versions).
- Combine: Apple’s framework for handling asynchronous events and data streams. It’s particularly useful for handling network requests, user input, and other events that occur over time. Combine works very well with SwiftUI.
Recommendation: For most new iOS projects, Swift with SwiftUI is the recommended approach. It’s easier to learn, provides a modern development experience, and is the direction Apple is actively pushing.
4. Building Your App: From Code to Reality
Now the real fun begins! Here’s a breakdown of the core steps involved in building your iOS app:
- Project Setup: In Xcode, create a new project and choose the appropriate template (e.g., Single View App, Tabbed App). Make sure you select Swift and SwiftUI (or UIKit if you’ve chosen that framework).
- Designing the User Interface: Use Xcode’s Interface Builder (for UIKit) or write declarative code in SwiftUI to design your app’s UI. Create layouts, add buttons, text fields, images, and other UI elements. Learn about Auto Layout to ensure your UI adapts correctly to different screen sizes and orientations.
- Writing Code: Implement the functionality of your app using Swift. This involves writing code to handle user input, perform calculations, interact with data, and manage the app’s overall behavior.
- Data Management: Decide how your app will store and manage data. Options include:
- Core Data: Apple’s framework for managing structured data. Useful for storing large amounts of data locally.
- Realm: A popular mobile database that’s faster and easier to use than Core Data.
- CloudKit: Apple’s cloud storage service for syncing data across devices.
- Firebase: Google’s mobile development platform, offering a variety of services including a cloud database.
- UserDefaults: A simple way to store small amounts of data locally (e.g., user preferences).
- Networking: If your app needs to communicate with a server, use networking libraries
URLSessionto make HTTP requests. Consider using frameworks like Alamofire for simplified networking. - Testing: Thoroughly test your app on simulators and physical devices. Use Xcode’s debugging tools to identify and fix bugs. Implement unit tests to ensure individual components of your code are working correctly. Consider using UI testing to automate testing of your app’s user interface.
- Debugging: Xcode provides powerful debugging tools to help you track down and fix errors in your code. Learn how to use the debugger to inspect variables, set breakpoints, and step through your code line by line.
- Version Control: Regularly commit your changes to your Git repository. This allows you to track your progress, revert to previous versions, and collaborate with other developers.
Key Programming Concepts for iOS Development:
- Object-Oriented Programming (OOP): Understand concepts like classes, objects, inheritance, and polymorphism.
- Model-View-Controller (MVC) / Model-View-ViewModel (MVVM): Architectural patterns that help organize your code. SwiftUI often leans towards MVVM.
- Closures: Self-contained blocks of code that can be passed around and executed later.
- Optionals: A feature in Swift that helps prevent null pointer exceptions.
- Delegation: A design pattern that allows one object to delegate tasks to another object.
- Asynchronous Programming: Handling tasks that take time to complete without blocking the main thread (e.g., network requests).
5. Designing a Great User Experience (UX): Making Your App Delightful
A visually appealing and user-friendly app is crucial for success. Here are some key UX considerations:
- Intuitive Navigation: Make it easy for users to find what they’re looking for. Use clear and consistent navigation patterns.
- Clean and Minimalist Design: Avoid clutter and focus on essential elements. Use white space effectively.
- Consistent UI Elements: Use the same fonts, colors, and styles throughout your app.
- Accessibility: Design your app to be accessible to users with disabilities. Use VoiceOver labels, provide alternative text for images, and ensure sufficient color contrast.
- Responsiveness: Your app should feel fast and responsive to user input. Avoid long loading times and provide feedback to the user.
- Feedback and Error Handling: Provide clear and helpful feedback to users when they interact with your app. Handle errors gracefully and provide informative error messages.
- Testing with Real Users: Get feedback from real users early and often. Conduct user testing sessions to identify areas for improvement.
6. Testing and Debugging: Ensuring Quality and Stability
Thorough testing is essential before releasing your app to the world.
- Simulator Testing: Use Xcode’s simulator to test your app on different iOS devices and screen sizes.
- Device Testing: Test your app on physical devices to get a realistic feel for its performance.
- Unit Testing: Write unit tests to verify that individual components of your code are working correctly.
- UI Testing: Automate testing of your app’s user interface.
- Beta Testing: Release a beta version of your app to a small group of users for feedback. Use tools like TestFlight to manage beta testing.
- Crash Reporting: Integrate a crash reporting service like Firebase Crashlytics or Bugsnag to track crashes and identify bugs in your app.
- Performance Profiling: Use Xcode’s Instruments tool to analyze your app’s performance and identify areas for optimization.
7. Publishing Your App to the App Store: Sharing Your Creation
Once you’re satisfied with your app, it’s time to submit it to the App Store.
- App Store Connect: Use App Store Connect (formerly iTunes Connect) to manage your app’s metadata, screenshots, and pricing.
- App Metadata: Write a compelling app description, choose relevant keywords, and upload high-quality screenshots and app previews.
- App Icon: Design a visually appealing app icon that represents your brand.
- Pricing: Choose a pricing model for your app. Consider offering a free version with in-app purchases or a paid version.
- App Review Guidelines: Familiarize yourself with Apple’s App Store Review Guidelines to ensure your app meets their requirements.
- App Submission: Submit your app for review. The review process can take several days or even weeks.
- Rejection Handling: If your app is rejected, review the reasons for rejection and make the necessary changes.
8. Post-Launch: Maintenance and Updates
Releasing your app is just the beginning. You’ll need to maintain and update your app regularly to keep it competitive and address user feedback.
- Monitor App Performance: Track your app’s performance using analytics tools like Google Analytics or Flurry.
- Respond to User Reviews: Read and respond to user reviews on the App Store.
- Bug Fixes: Fix bugs and address crashes reported by users.
- Feature Updates: Release new features and improvements to keep your app engaging.
- iOS Updates: Keep your app up-to-date with the latest iOS versions.
Resources for Learning iOS Development:
- Apple Developer Documentation: The official documentation for iOS development.
- Swift.org: The official website for the Swift programming language.
- Ray Wenderlich: A popular website with tutorials and courses on iOS development.
- Hacking with Swift: Another excellent resource for learning Swift and iOS development.
- Udemy & Coursera: Online learning platforms offering a wide range of iOS development courses.
- Stack Overflow: A question-and-answer website for programmers.
Conclusion: Embrace the Journey
Creating an iOS app is a challenging but rewarding experience. It requires dedication, perseverance, and a willingness to learn. By following the steps outlined in this guide and continuously improving your skills, you can bring your app idea to life and share it with the world. Don’t be afraid to experiment, ask questions, and learn from your mistakes. Good luck!